The Wonderful World of Bread Baking: A Delectable Journey
Sep 23, 2023 By Triston Martin
Baking bread is more than just a culinary task; it's an age-old tradition that combines science, art, and a dash of magic. Whether you're an amateur or a seasoned baker, understanding the science behind this beloved staple can elevate your skills and make every loaf a masterpiece.
In this article, we'll take you on a flavorful journey into the heart of bread-making, from selecting the finest ingredients to the alchemy in your oven.
The Magic Begins with Ingredients
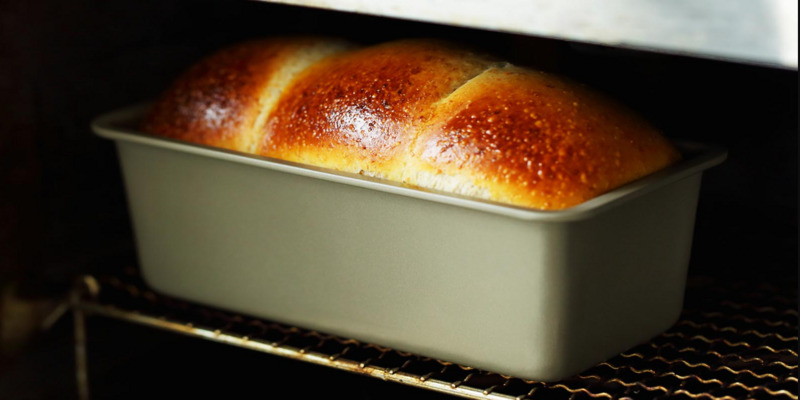
Before we dive into the nitty-gritty of baking bread, let's gather our ingredients. To bake a delicious loaf, you'll need the following:
Flour: Flour is the backbone of any bread recipe. It's where the magic begins. High-protein flours, like bread flour, are ideal for most bread types, as they provide the necessary structure. On the other hand, all-purpose flour can also work well for many recipes.
Water: The primary liquid in your dough, water hydrates the flour's proteins, enabling them to form a network that traps carbon dioxide produced by yeast, causing the dough to rise.
Yeast: Yeast is the secret ingredient responsible for bread's wonderful aroma and fluffy texture. It's a microorganism that consumes sugars and produces carbon dioxide gas during fermentation, causing the dough to expand.
Salt: Salt is more than just a flavor enhancer. It helps control yeast activity, strengthens the dough, and enhances the bread's taste and texture.
Now that our essentials are ready let's embark on our baking adventure.
The Art of Kneading
Kneading is where science meets muscle power. This step involves mixing and folding the dough to develop its gluten structure. Gluten is a protein that gives bread its elasticity and traps carbon dioxide. Proper kneading ensures a good rise and the characteristic texture of bread.
To knead your dough effectively:
- Start with a floured surface to prevent sticking.
- Push the dough away from you with the heel of your hand.
- Fold the dough in half.
- Rotate it a quarter turn.
- Repeat this process for 10-15 minutes until the dough becomes elastic and smooth.
Remember, practice makes perfect. Don't be discouraged if your first attempts aren't flawless. The more you knead, the better you'll become at sensing when your dough is just right.
The Crucial Role of Rising
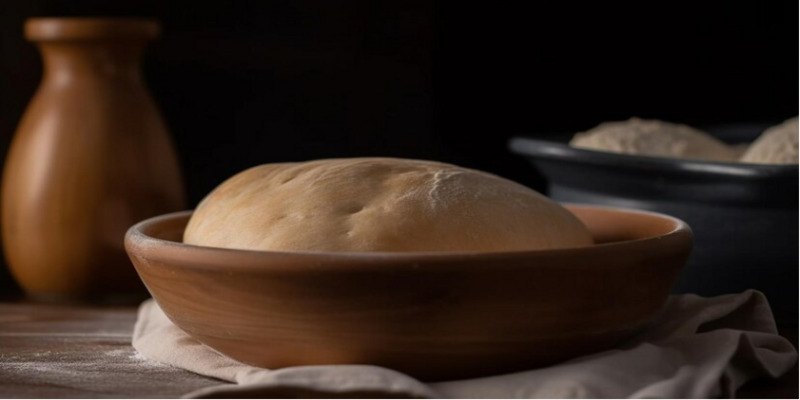
Once your dough is perfectly kneaded, it's time for the yeast to work its magic. Place your dough in a greased bowl, use a damp cloth to cover it, and leave it for rising in a warm, draft-free place. This step is crucial for developing flavor and texture.
During rising, yeast ferments the sugars, producing carbon dioxide that inflates the dough. The longer the rise, the more complex and delightful the flavors become. This is where patience pays off. Depending on the recipe, rising can take anywhere from one to several hours.
Shaping and Proofing
After your dough has doubled in size during the initial rise, it's time to shape it into the desired form, whether a rustic round, a baguette, or a sandwich loaf. This is where your creativity shines. Experiment with different shapes to match the occasion.
Once shaped, your dough needs a final proofing. This second rise allows the dough to relax and the yeast to continue fermentation. It's the secret behind that light and airy texture in the finished loaf.
Preparing for the Oven
Before we get to the climax of our bread-making journey – baking bread in the oven – let's not forget a couple of crucial steps:
Preheat: Ensure your oven is properly preheated. Baking bread in an oven that's not hot enough can lead to uneven cooking and poor rise. Typically, bread bakes best at temperatures ranging from 375°F to 450°F (190°C to 230°C).
Score the Dough: To allow for expansion during baking, score the top of your shaped dough with a sharp knife or razor blade. This helps release excess gas and prevents unsightly cracks.
Steam: Place a pan of hot water on a lower rack in the oven during the first part of baking. Steam helps create a crisp, golden crust and enhances the bread's rise.
The Transformation: Baking Bread in the Oven
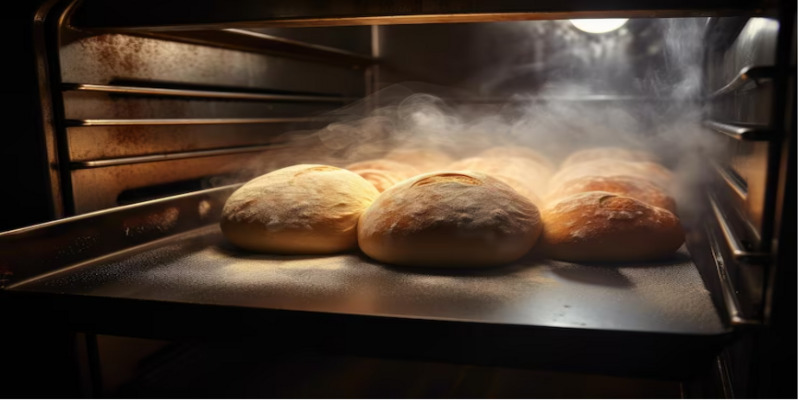
Finally, the moment we've all been waiting for – baking our bread! The oven is where the real magic happens. As the bread heats up, the yeast cells become more active, producing additional gas. The expanding gas causes the dough to rise further, creating the desired airy structure.
Here's a simplified breakdown of the baking process:
Oven Spring: During the first 10-15 minutes, your bread undergoes an "oven spring," where it rises dramatically. This is thanks to the initial burst of yeast activity and the expansion of trapped gases.
Crust Formation: The outer layer of the dough quickly reaches a temperature that allows the Maillard reaction to occur. This reaction is responsible for the bread's golden-brown crust and complex flavors.
Internal Temperature: The bread's interior continues to heat up, cooking the crumb (the soft interior) and setting its structure.
To ensure your bread is perfectly baked, you can use a kitchen thermometer to check its internal temperature. For most bread, an internal temperature of 190°F to 200°F (88°C to 93°C) indicates it's done.
Conclusion: A Science You Can Taste
Baking bread is indeed a delightful blend of science and art. Understanding the role of each ingredient, the importance of kneading and rising, and the magic of baking in the oven can turn anyone into a bread-making enthusiast.
With practice, you'll hone your skills and develop your signature bread recipes while enjoying the warm, fresh slices that make it worth the effort. Happy baking!Top of Form
-
 Sep 05, 2023
Get The Best Expert Tips For Smoking A Whole Turkey
Choose the right-zed and fresh turkey to smoke. Always monitor the temperature while smoking, never open the smoke, and don't stuff the bird; serving a small pink turkey will be better.
-
 Sep 07, 2023
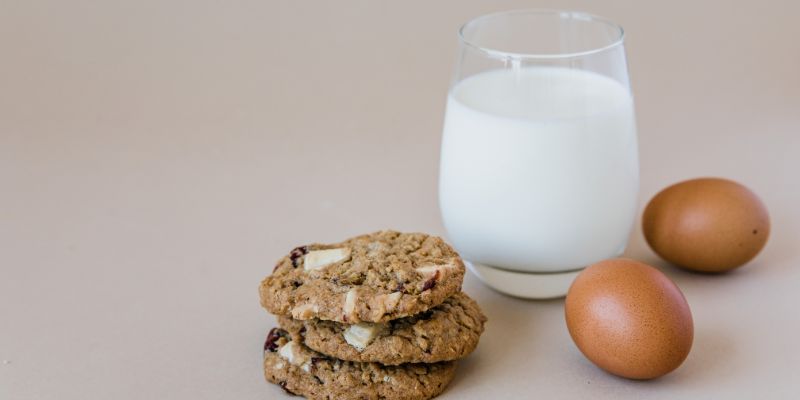
How To Make The Classic Vegan Oatmeal Raisin Cookies: A Complete Guide
Delicious and simple to prepare, vegan Oatmeal Raisin Cookies are a treat that can be shared between friends and family of all dietary persuasions
-
 Sep 06, 2023
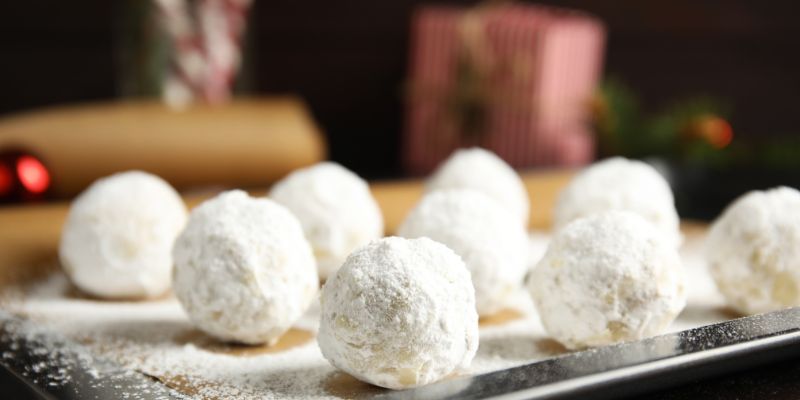
The Best Vegan Snowball Cookies Recipe
This easy vegan snowball cookie recipe produces tender, melt-in-your-mouth cookies coated in powdered sugar to look like snowballs. It is the perfect holiday treat.
-
 Sep 07, 2023
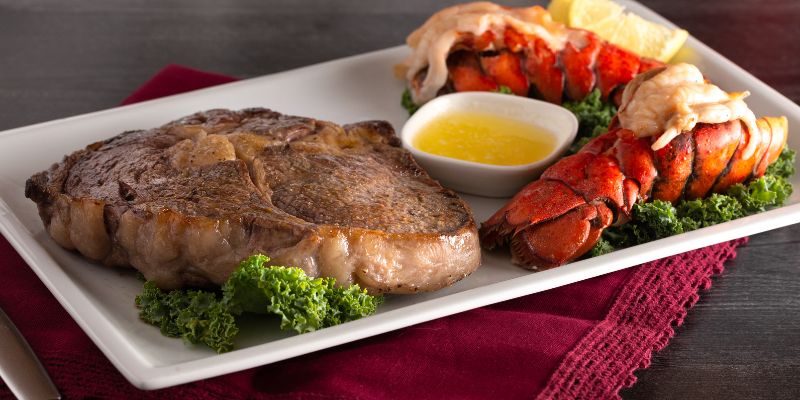
The Ultimate Guide To Steak And Lobster Surf And Turf Recipe
Learn how to make a delicious surf and turf dinner with a steak and lobster tail. This easy recipe pairs tender ribeye with succulent lobster for a gourmet meal.
